How is fabric ducting installed?


How is fabric ducting installed?
Installation of Prihoda fabric ducting or air socks is quick and simple and uses a minimum number of well-designed components.
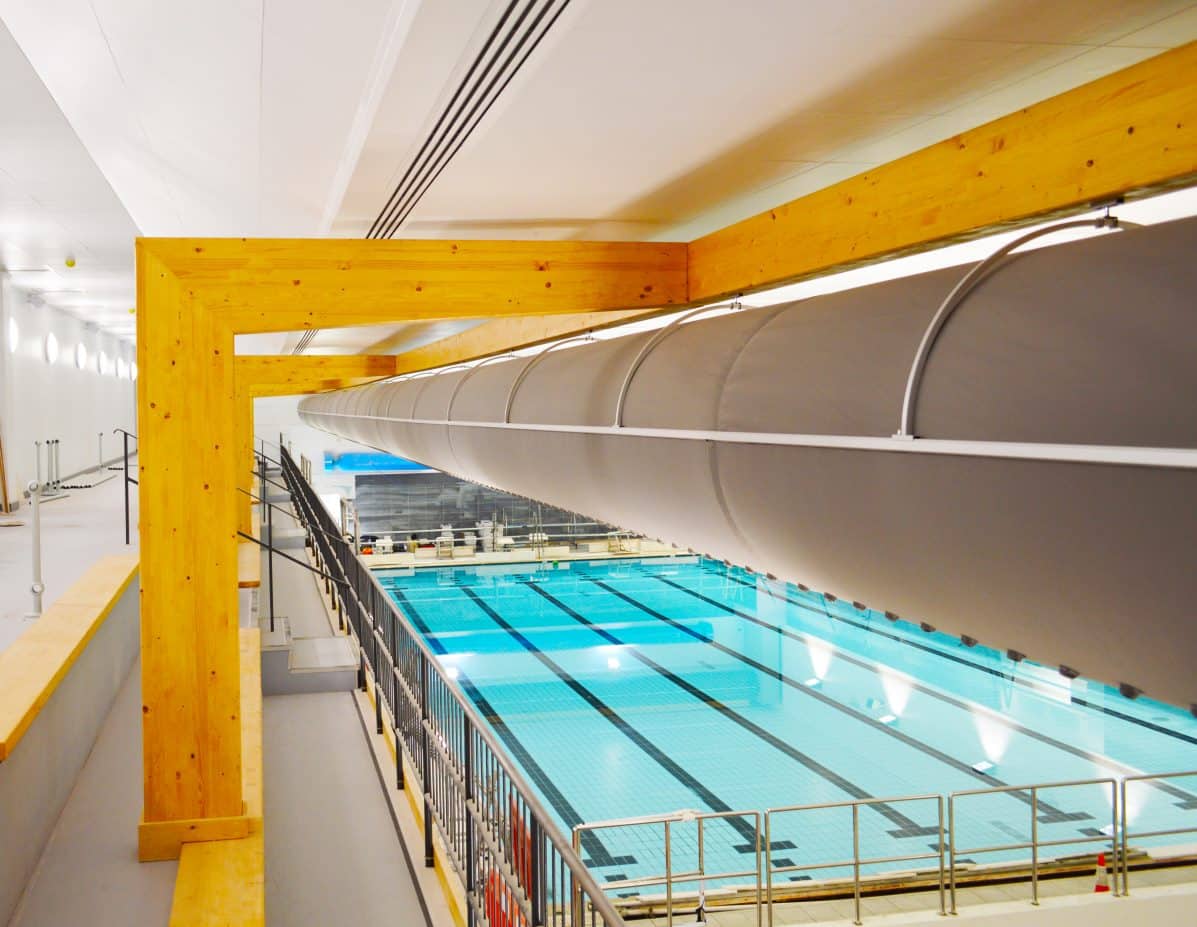
Fabric ducting is installed within the space it serves. There is much more surface area of ducting in the space and the ducting has a system of holes or nozzles laser cut all along the duct length. This means that there is much more distribution within a space served by fabric ducting than traditional ducting. Typically, this ensures that there is a much more diverse and velocity controlled air pattern.
Fabric ducting installation takes around 70% less time than a traditional ‘galvanised system’ (more if that system is insulated). This offers huge time and cost savings across the project. Essentially a typical single rail fabric ducting installation consists of: an aluminium rail; connectors to connect the rails together and hangers to support that rail from threaded bar or gripple type wire. We often install the rail system whilst the ducts are being manufactured so that the fabric ducts can simply slide on to the rail system once they arrive. Installation of the fabric ducts themselves is usually towards the end of the job when it’s less dusty.
We have a range of installation animations that are around a couple of minutes long that perfectly illustrate how simple installation can be – please click on the link here.
Looking for more information?
Our experts are on hand to answer any questions. Why not give us a call or drop us a message, We’ll work with you to find the right solution.
Contact us

